The Ultimate Calligraphy Starter Kit
If you have ever looked at beautiful handwritten invitations and thought, “I want to learn how to do that,” you are in the right place! Calligraphy can feel overwhelming at first, especially when you start Googling supplies and suddenly everything sounds technical. However, building the right starter kit makes learning feel exciting instead of intimidating. So let’s walk through exactly what you need to get started, plus a few behind the scenes notes from my own experience as a calligrapher.
Modern Calligraphy vs. Copperplate Calligraphy
Before buying anything, it helps to understand the style you want to learn. Modern calligraphy is more relaxed, expressive, and forgiving. Letterforms can vary, spacing can breathe, and your personality really gets to shine through. That is the style I practice and teach most often.
Copperplate calligraphy, on the other hand, is very structured and traditional. It relies on consistent slant, precise spacing, and strict rules. While it is stunning, it often feels harder for beginners. Because of that, modern calligraphy is usually the better starting point if you want to enjoy the process and see progress quickly.
Pen Holders: Straight vs. Oblique
Choosing the right pen holder makes a big difference in comfort. A straight pen holder, like the Tachikawa Straight Pen Holder, is a great beginner option. It feels natural in the hand and works well for most modern calligraphy styles.
An oblique pen holder angles the nib, which helps with slanted scripts. However, it can feel awkward at first. I often suggest starting with a straight holder, then experimenting with an oblique later once your muscle memory builds.
Nibs: Pointed vs. Square
Modern calligraphy typically uses pointed nibs. Two of my favorites are the Nikko G and the Blue Pumpkin nib.
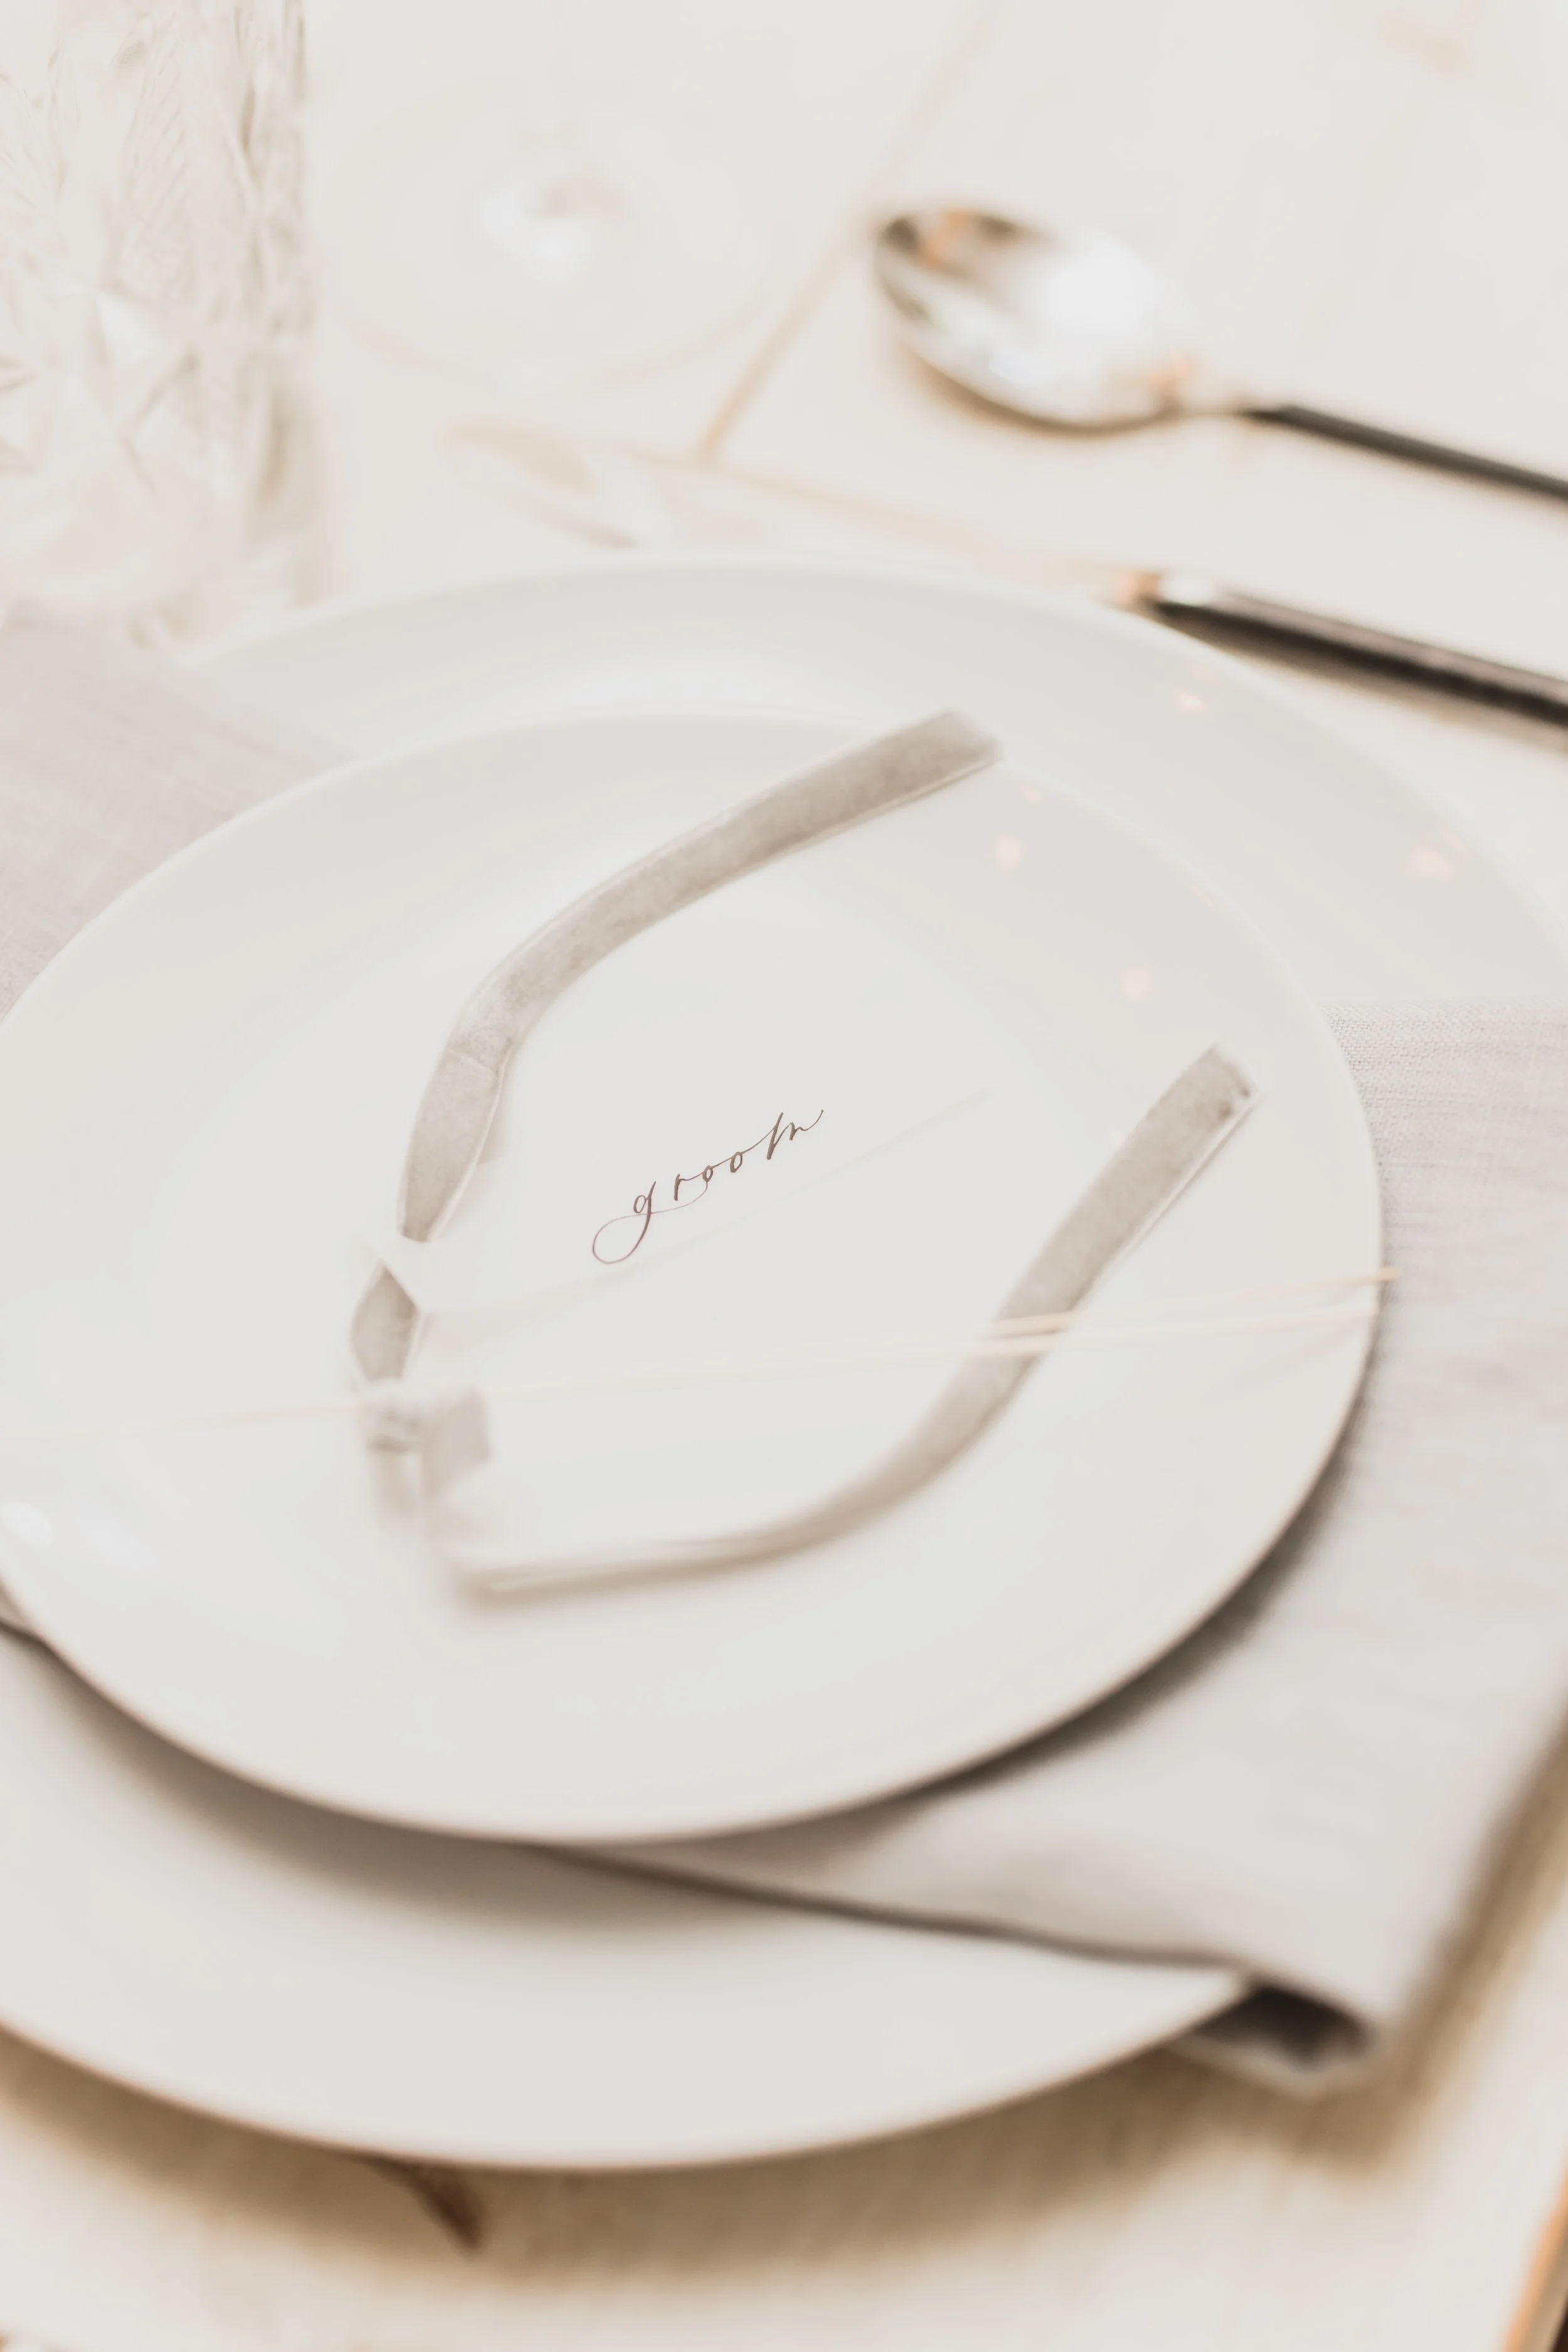
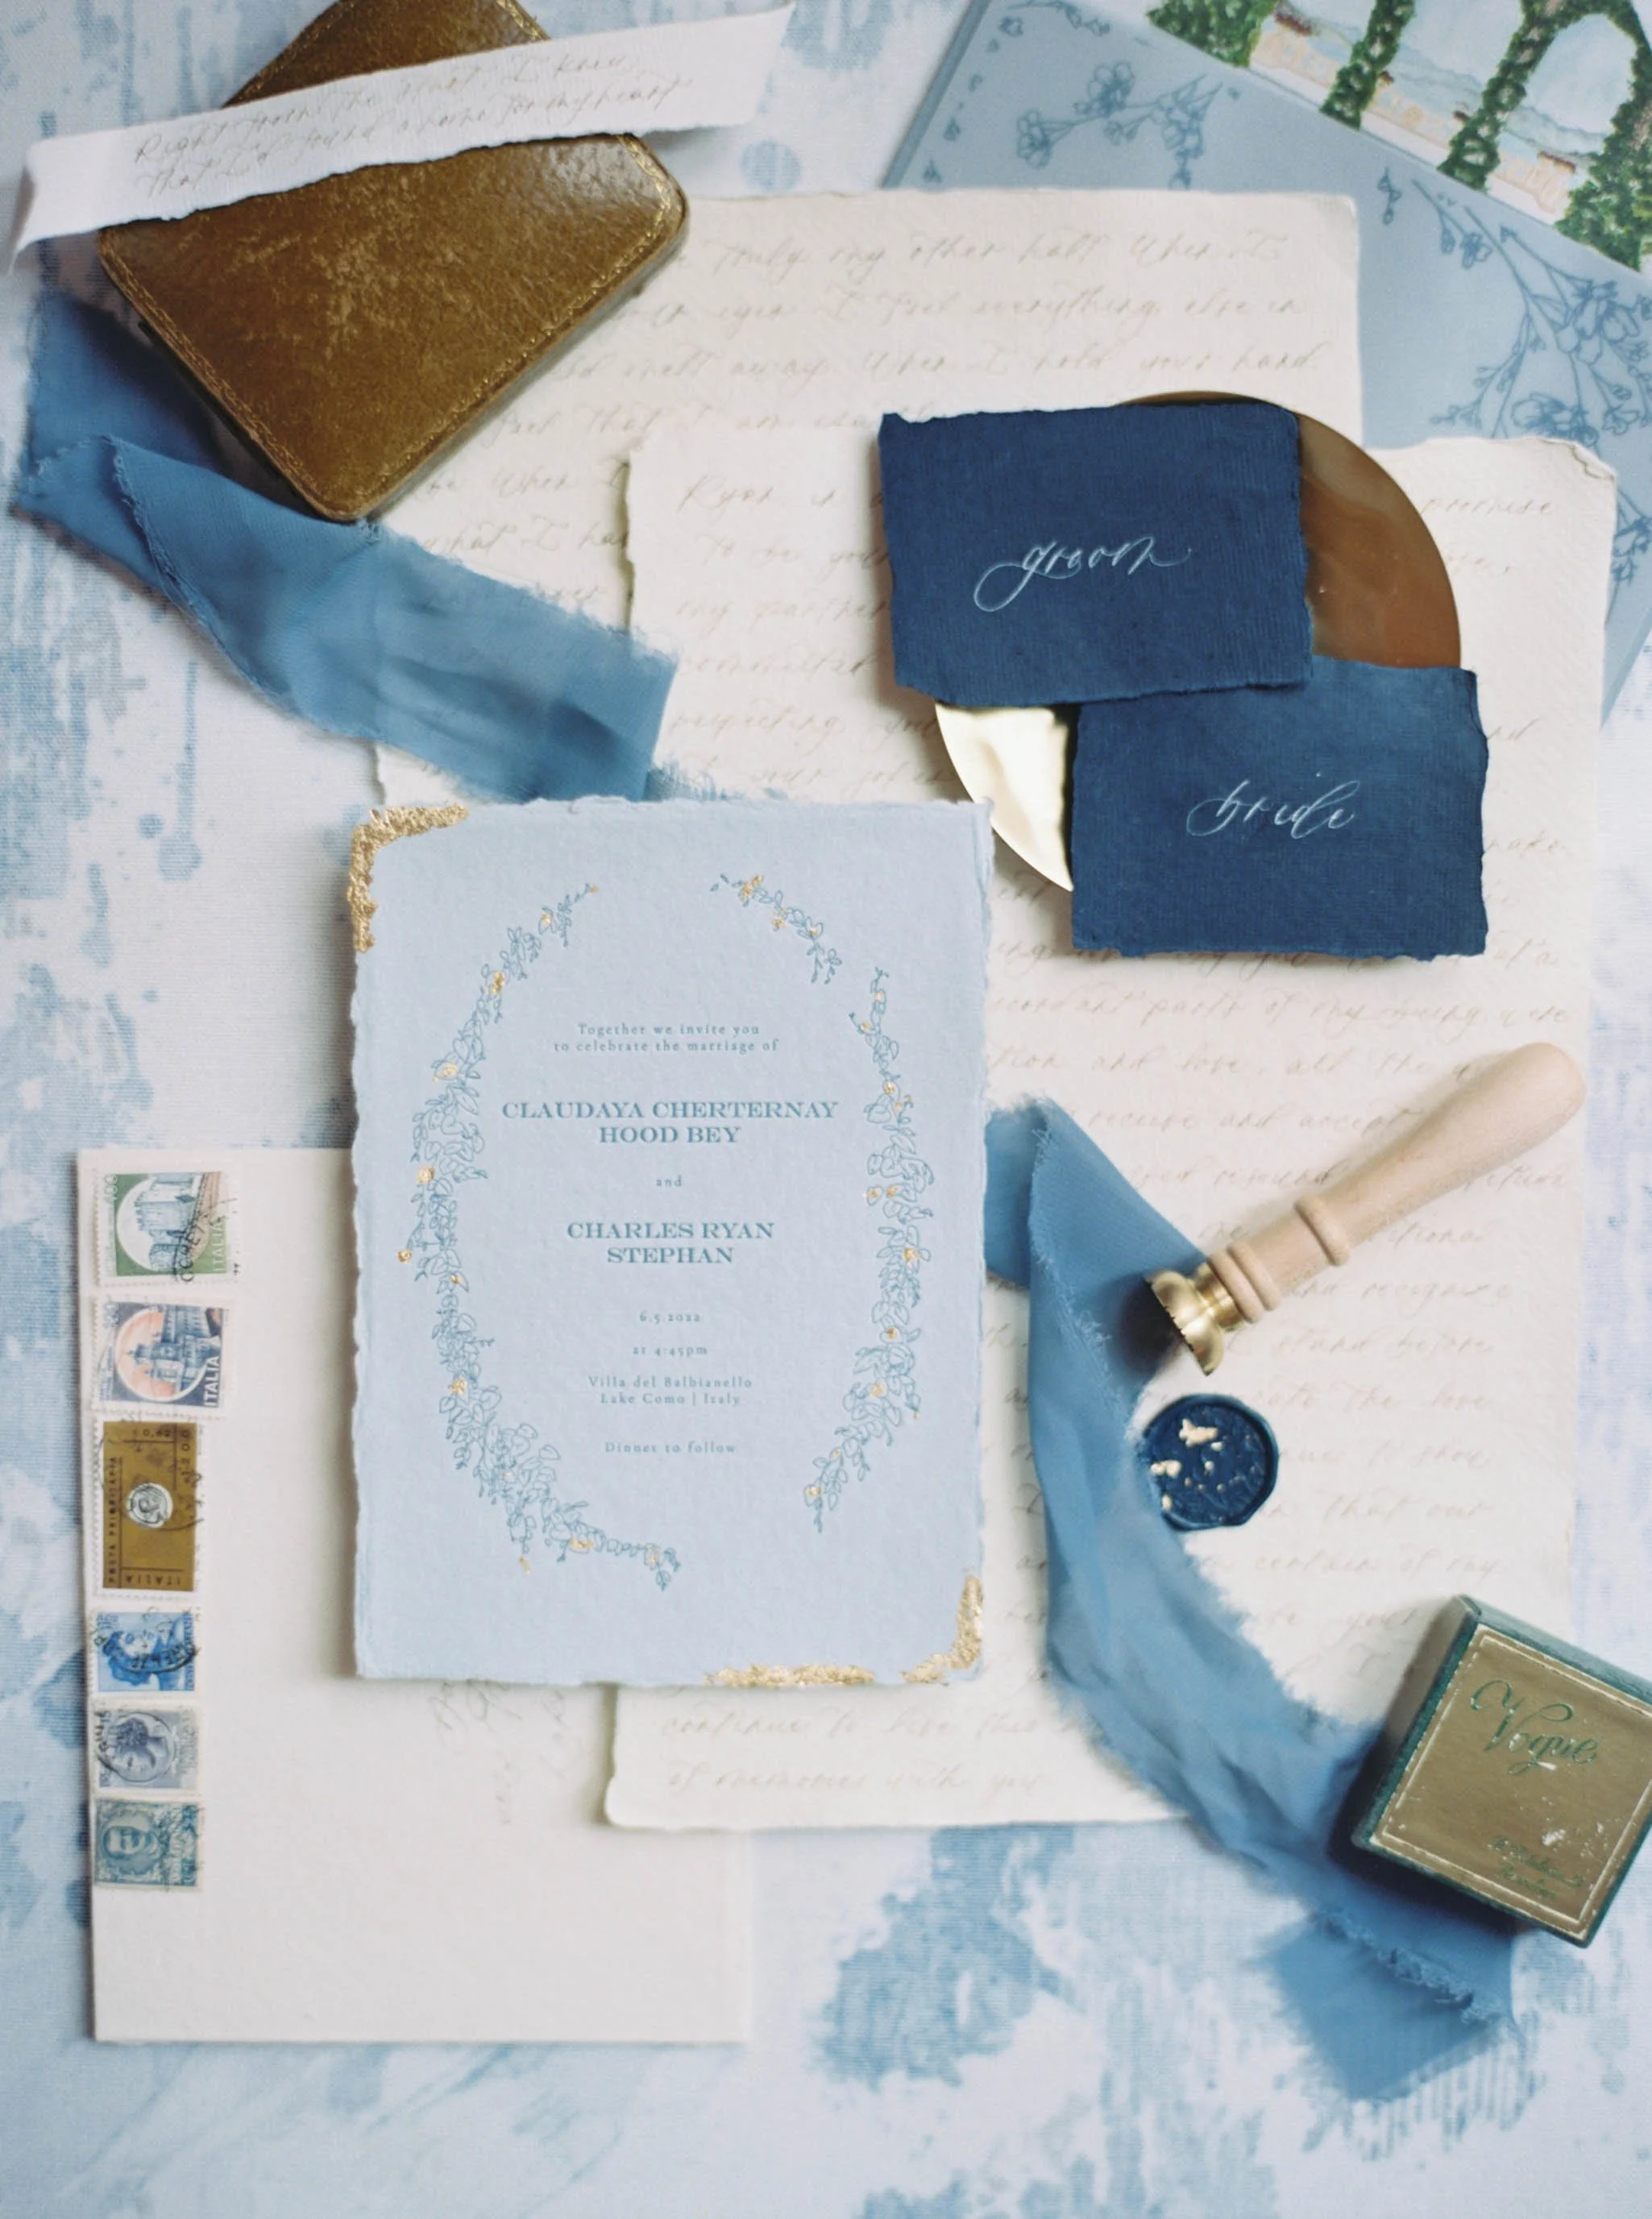
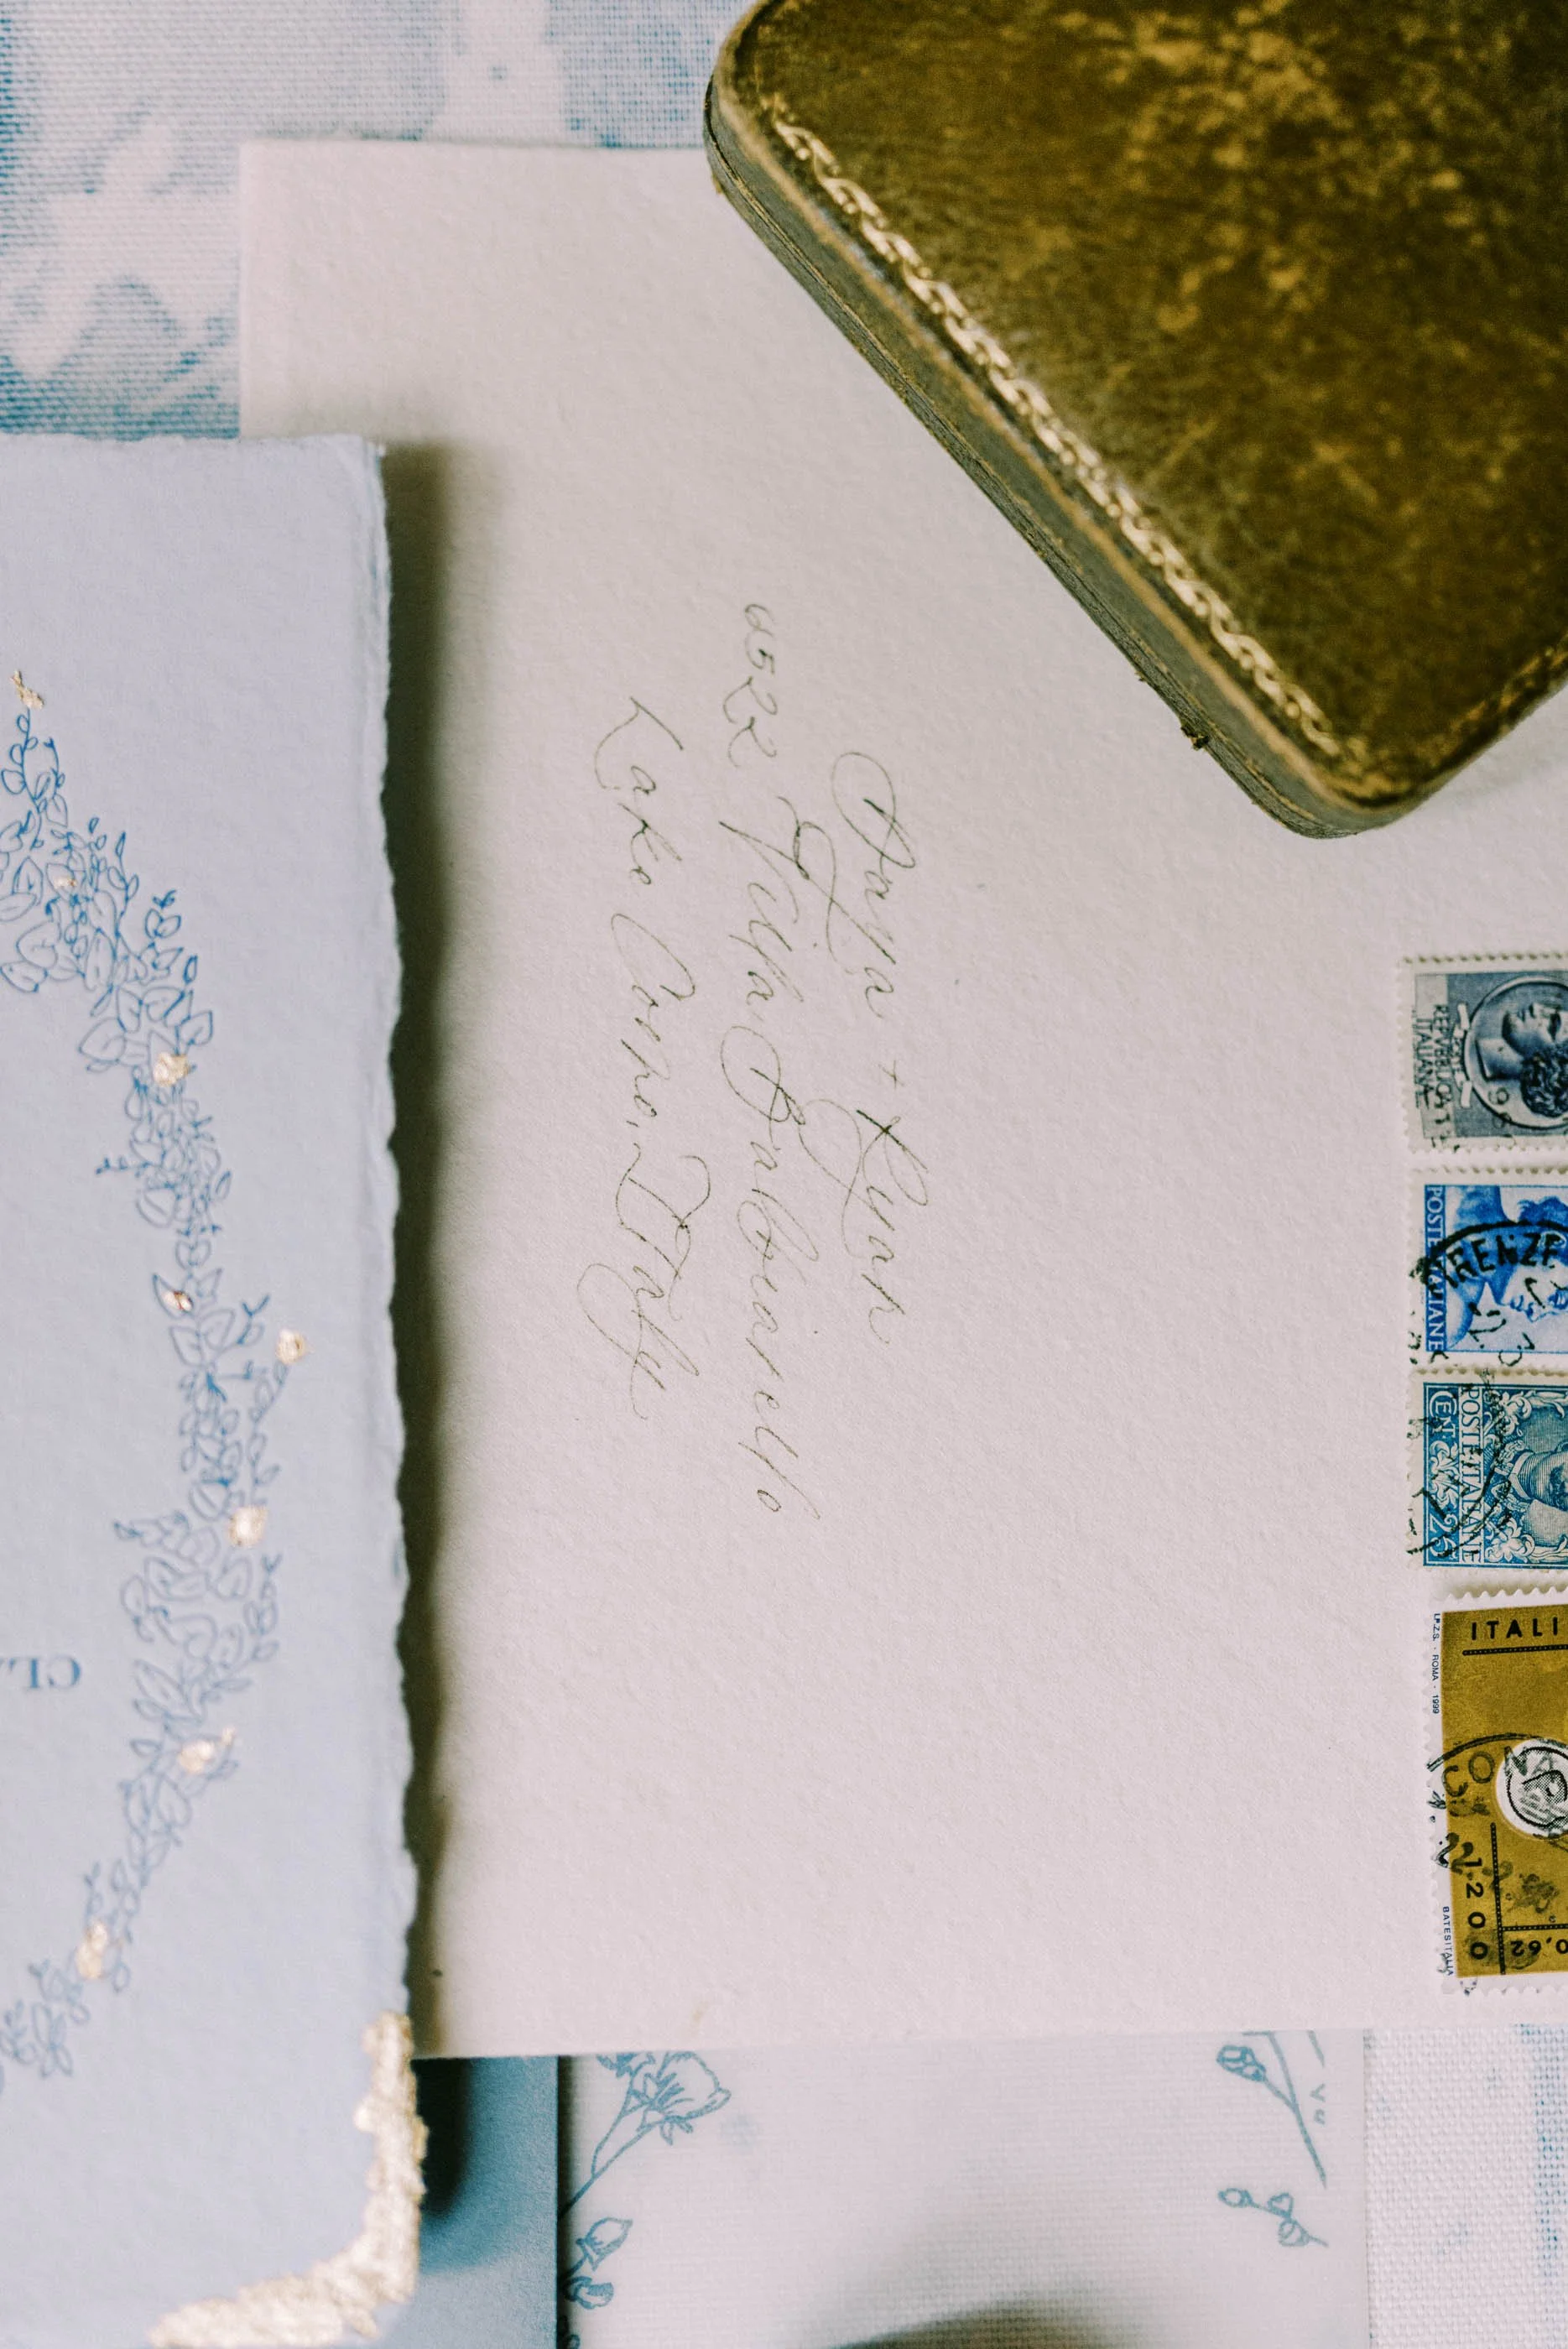
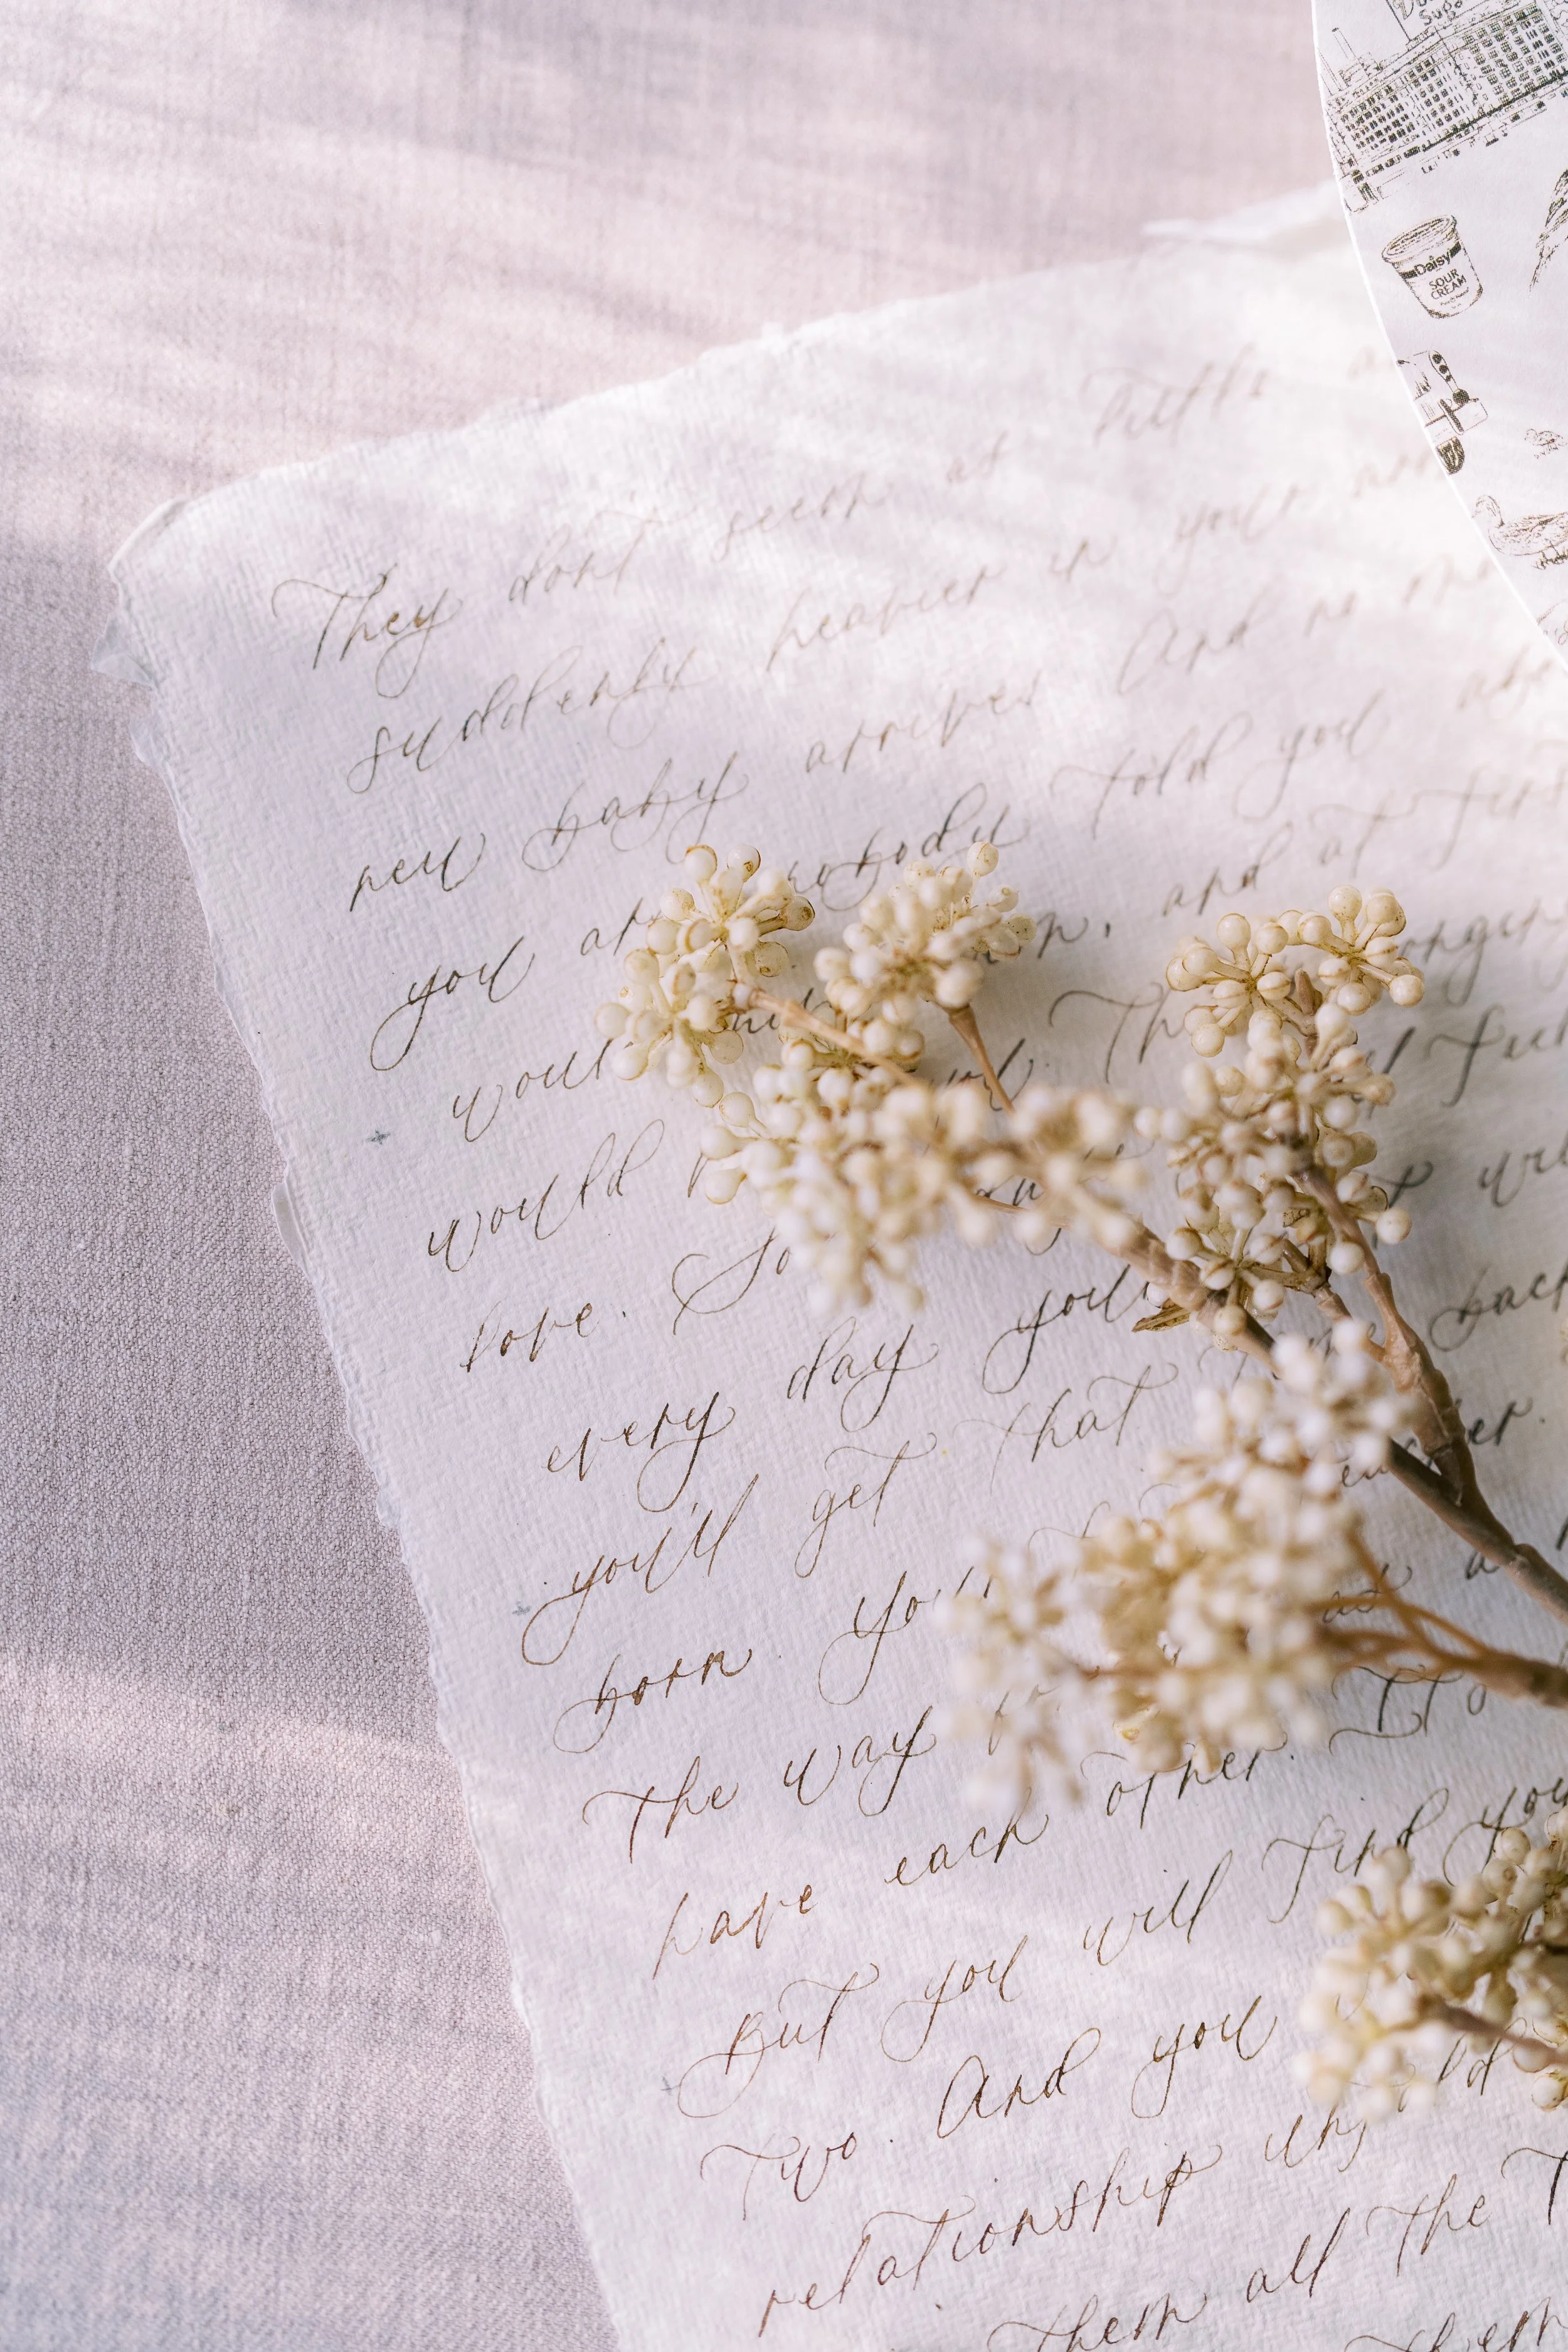
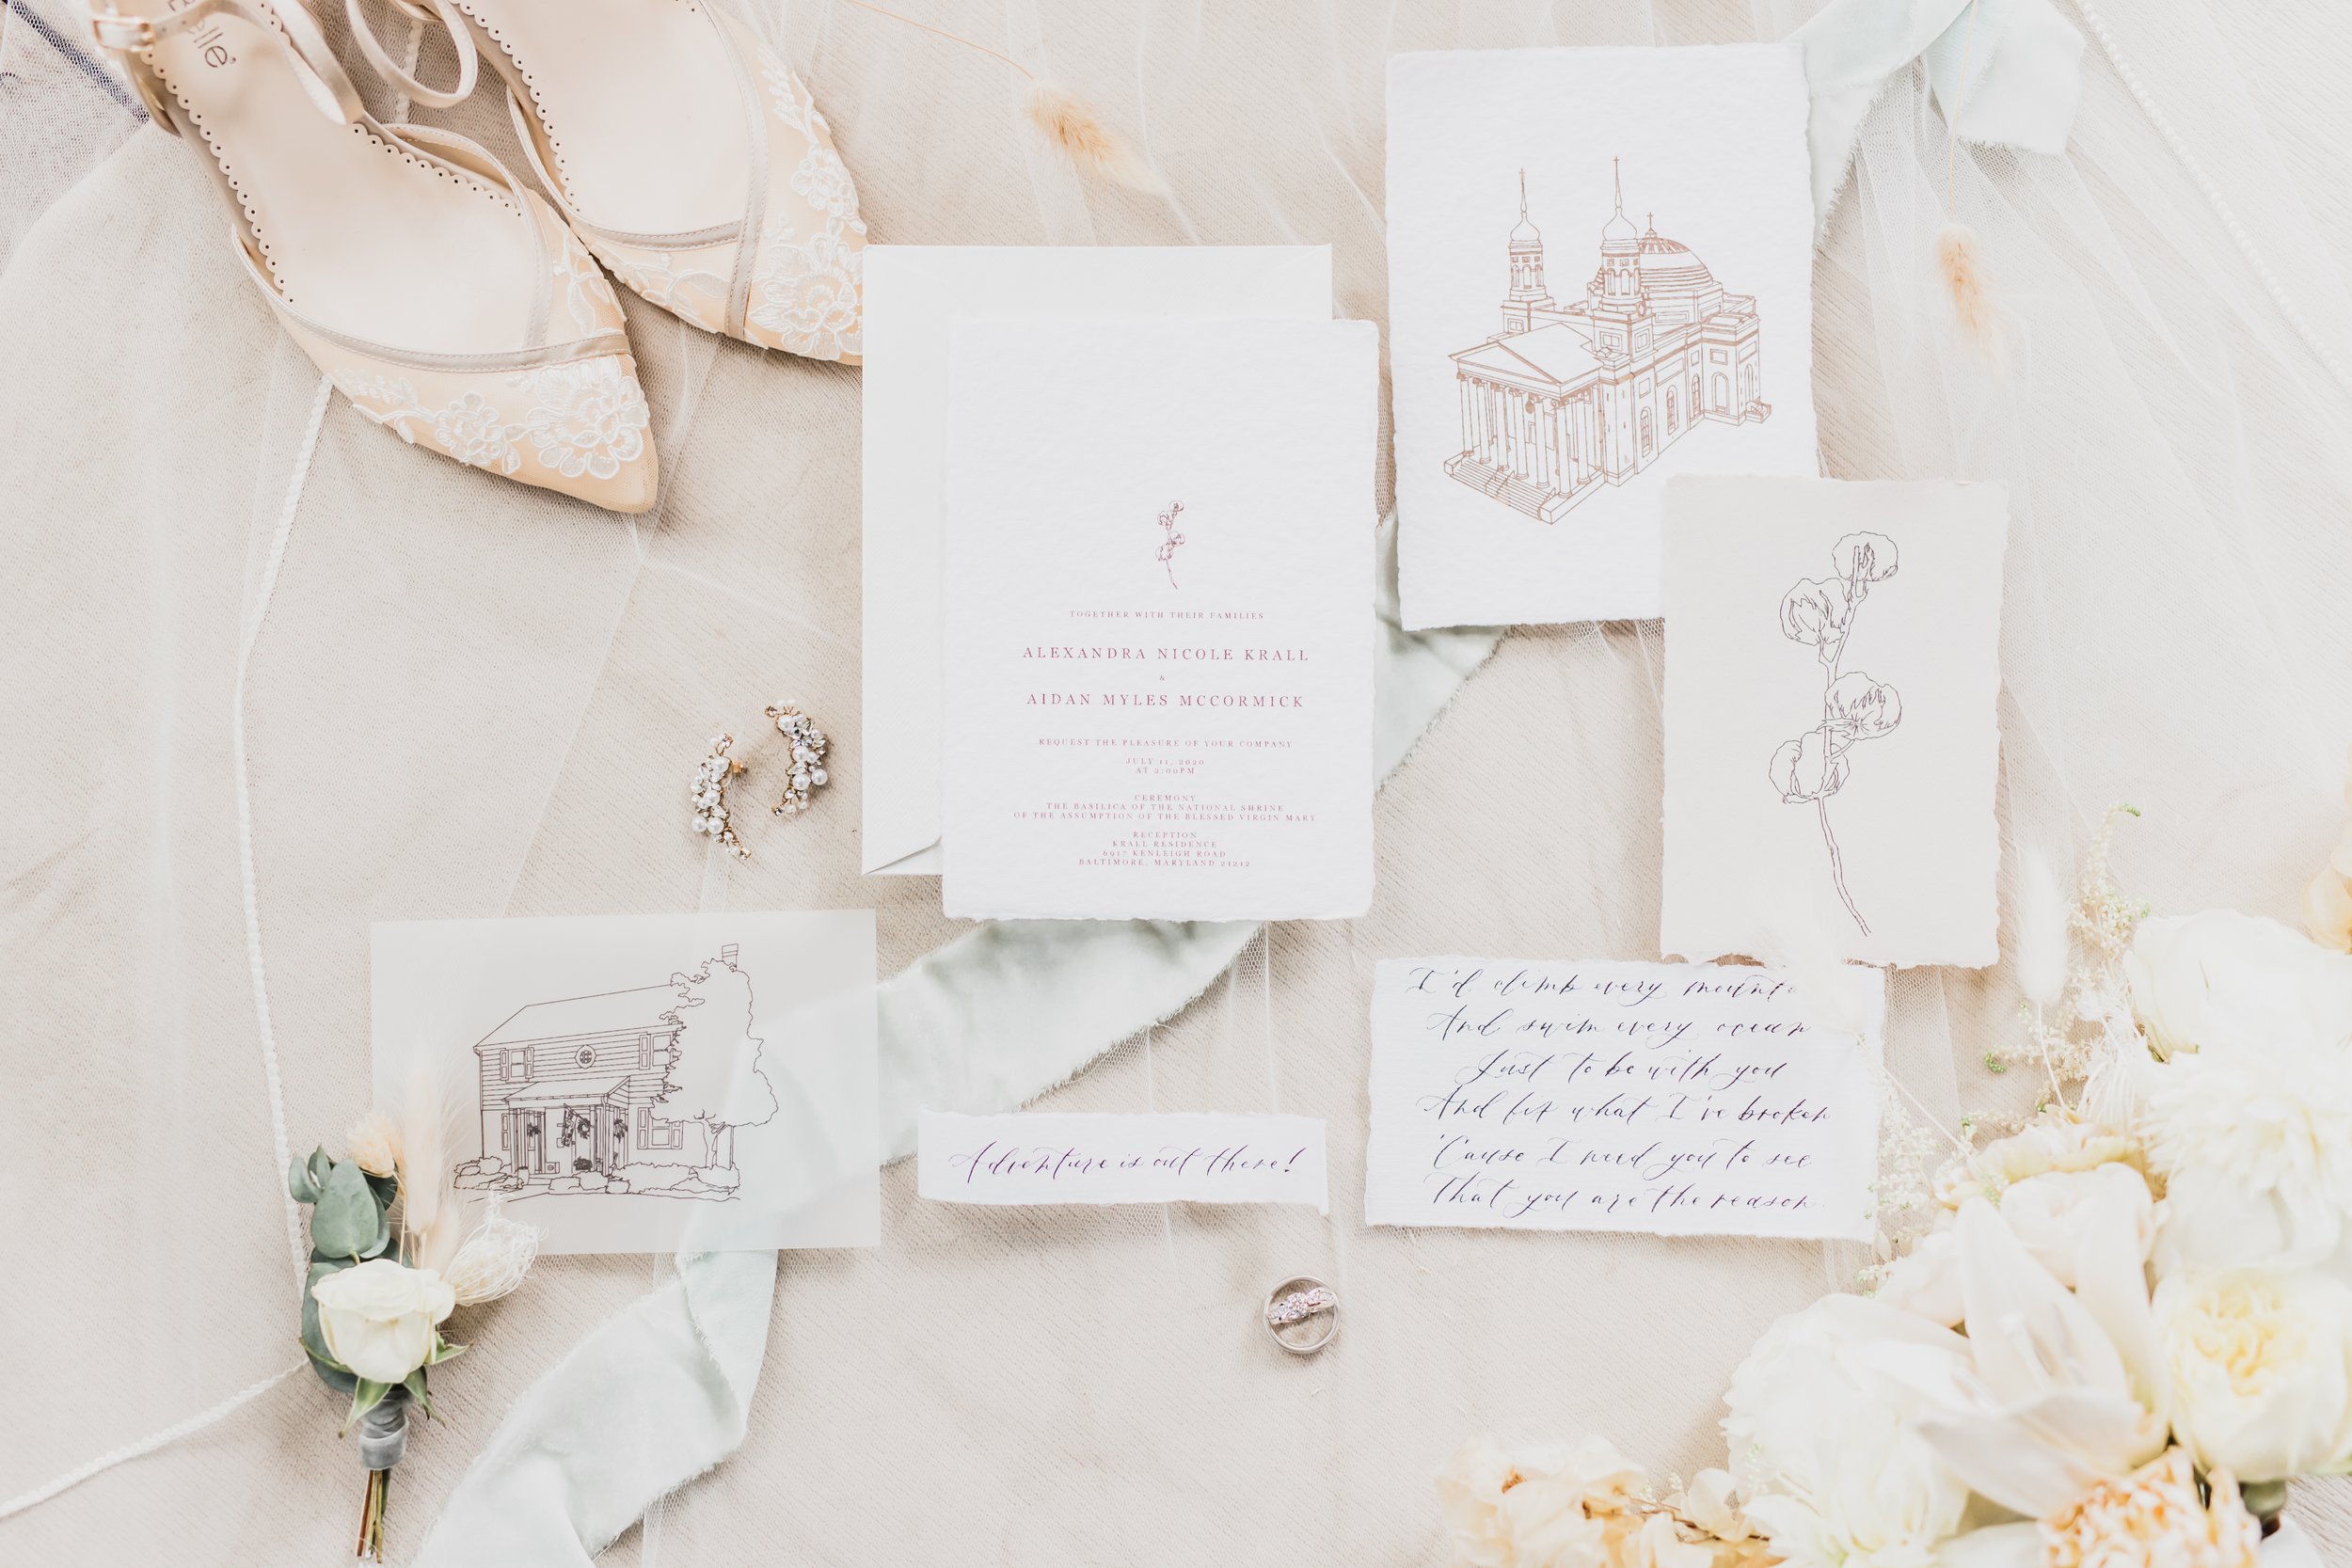
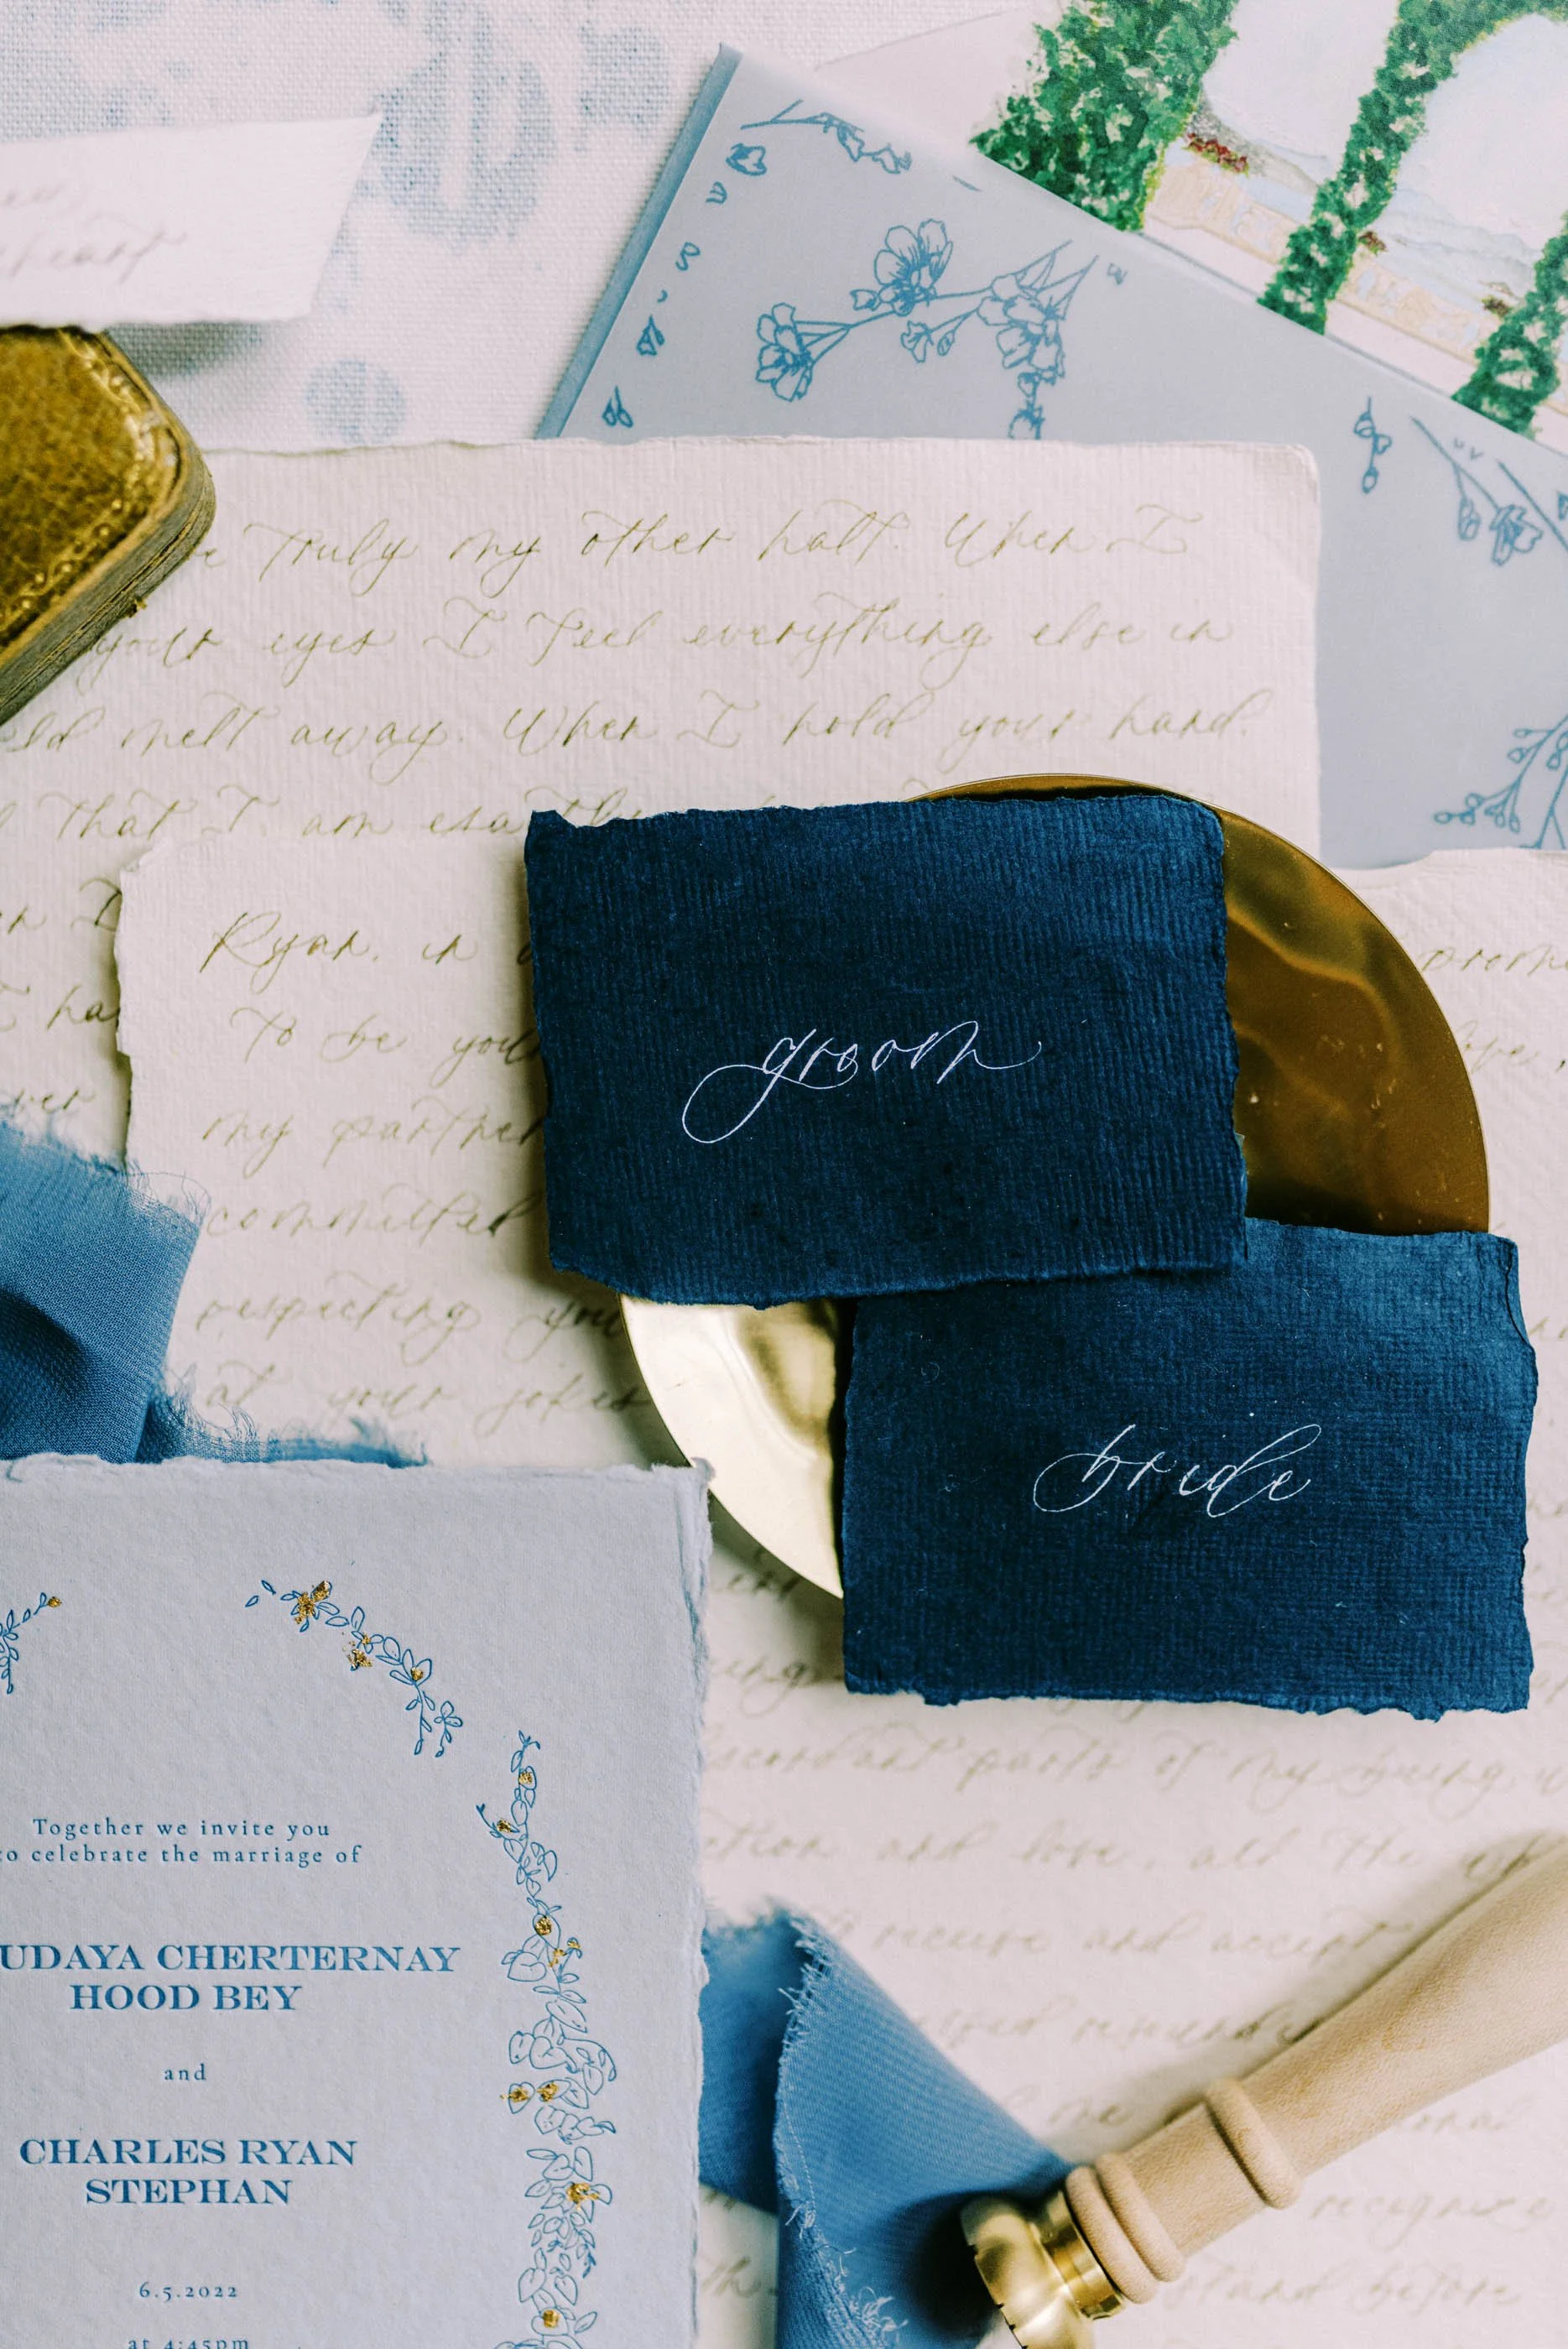
The Nikko G has less flexibility, which means it is easier to control. It also works beautifully on textured paper like handmade paper, which is something I use often in wedding stationery. The Blue Pumpkin nib is more flexible, so it creates thicker downstrokes. However, it really prefers smooth paper. When I am working on envelopes or smooth place cards, this one comes out of my kit.

Inks and Watercolors
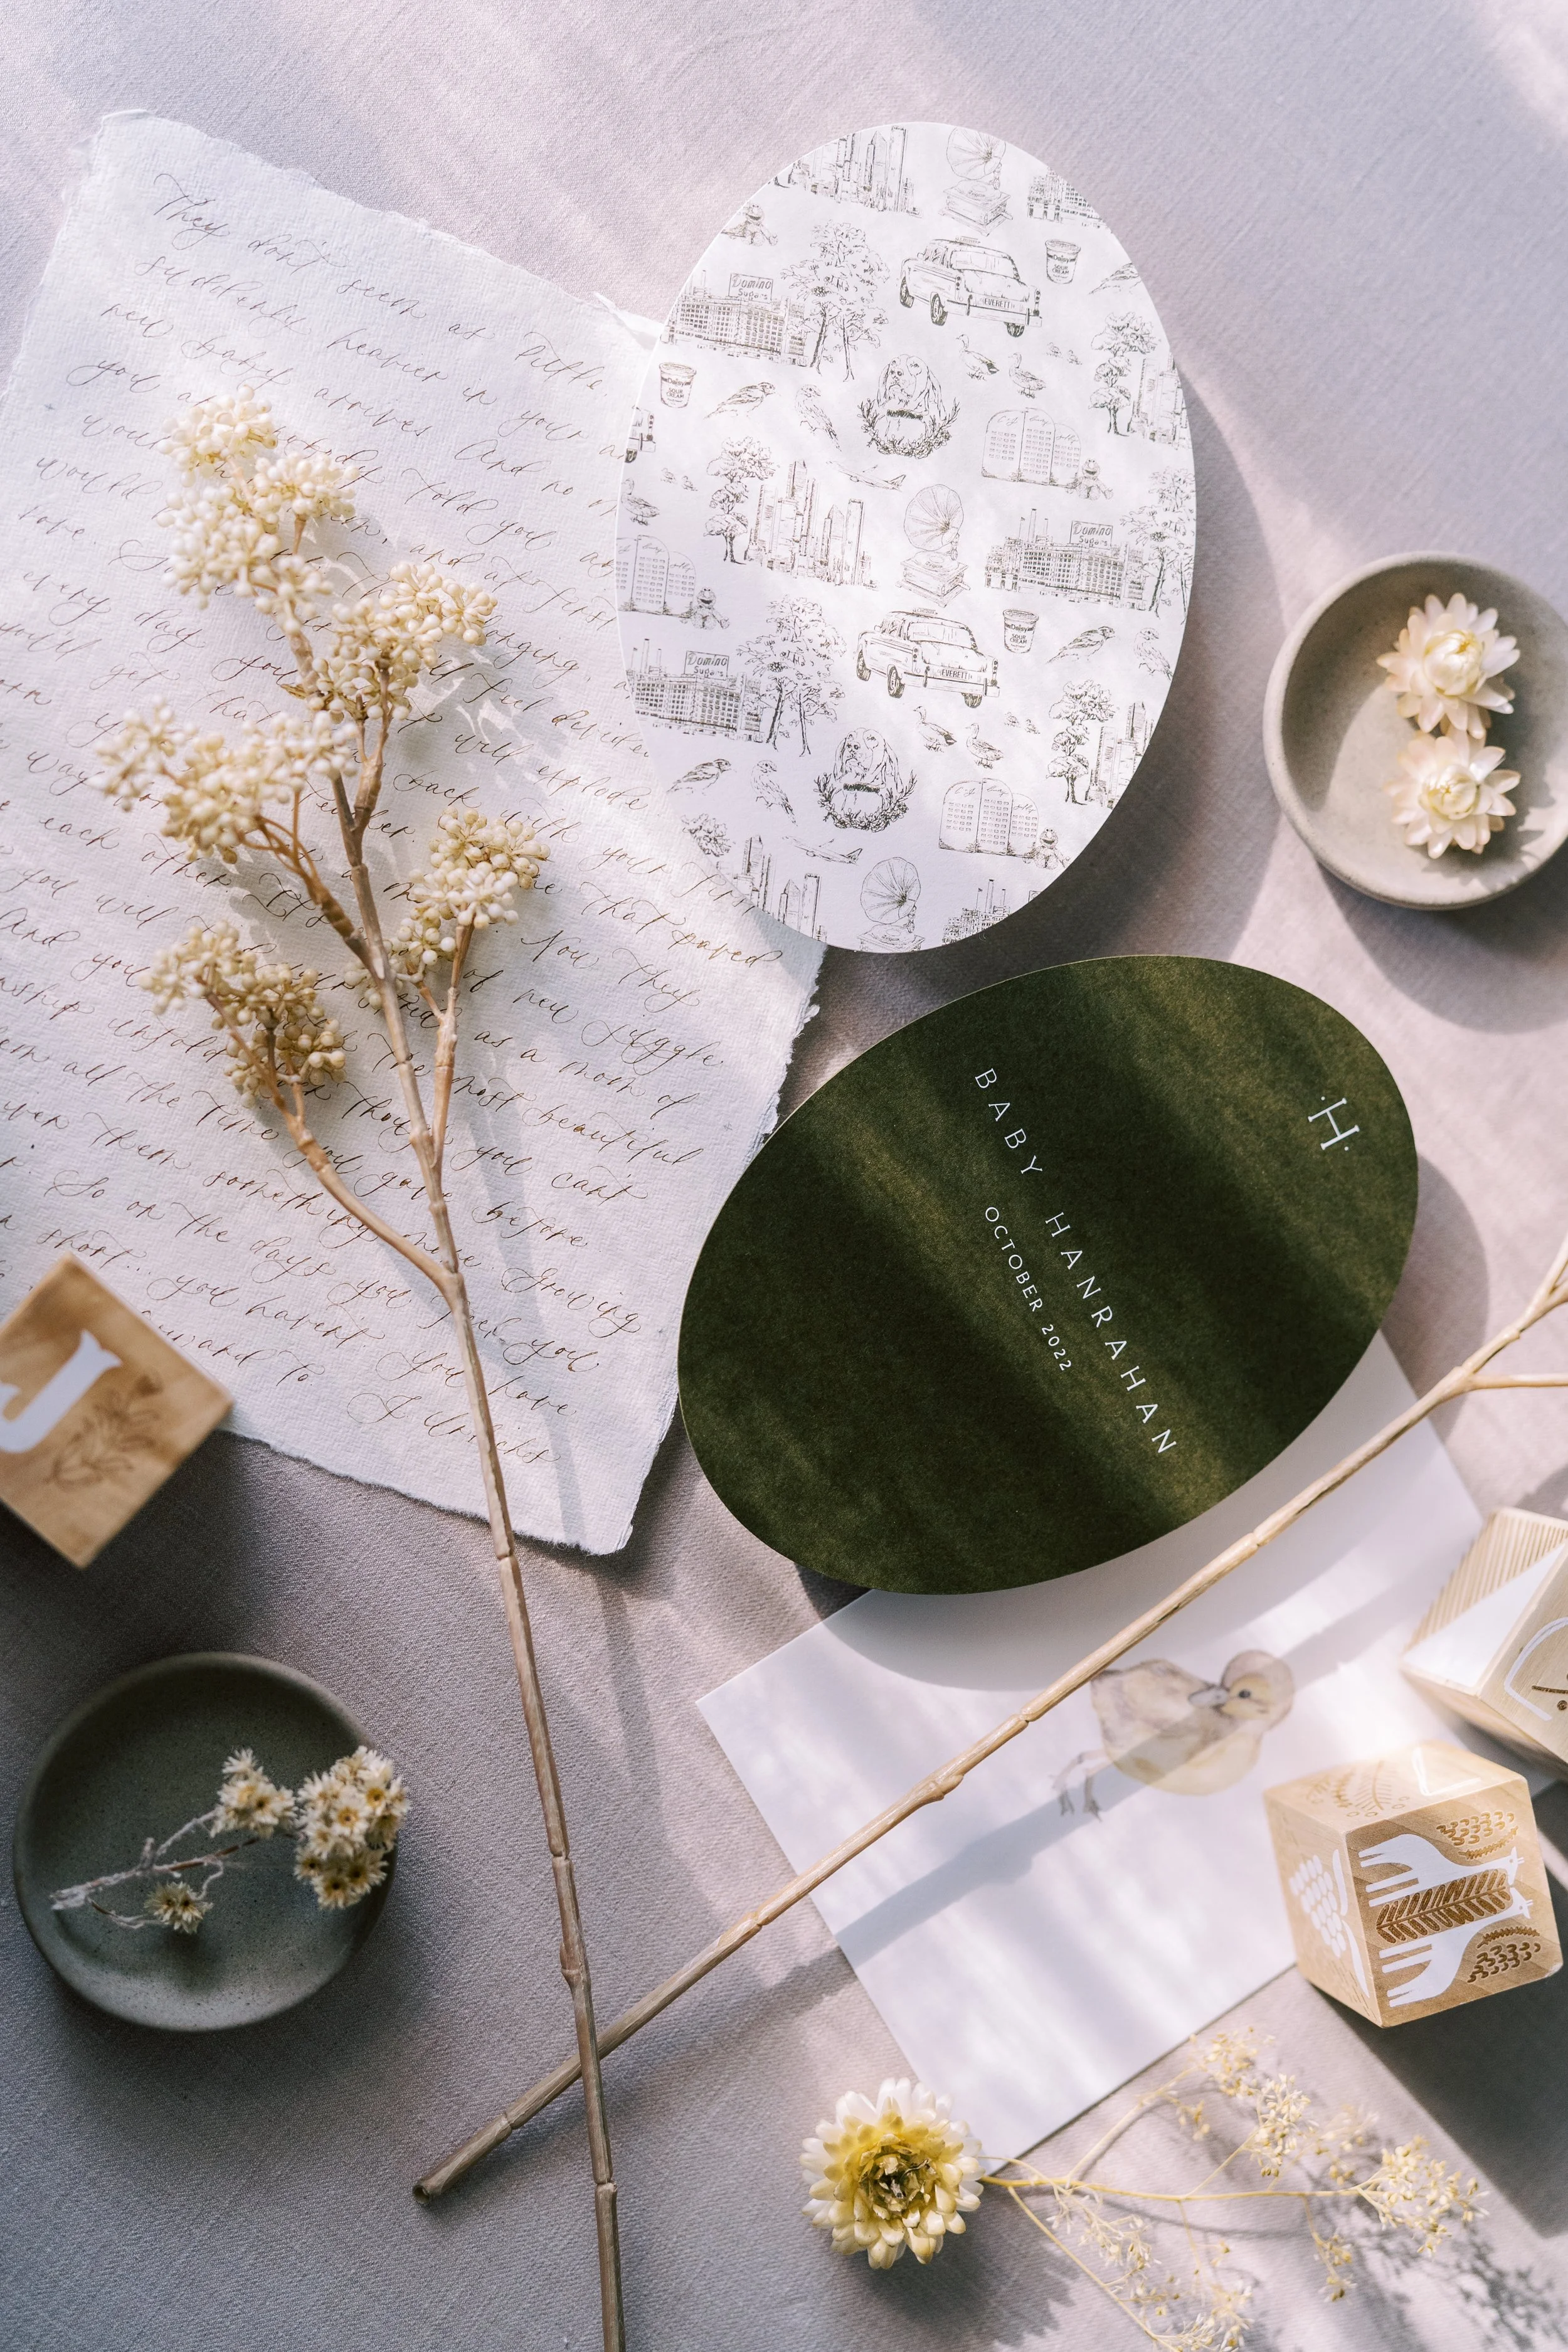
Ink choice can make or break your practice session. For black ink, I always reach for my favorite smooth, consistent formula. Walnut ink is another favorite because it feels soft and organic, especially for vintage inspired pieces. Gold ink adds instant drama and is perfect for accent words or luxury details. White opaque ink is a must for dark envelopes and signage.
One fun option is turning watercolor into ink. This is something I love recommending because it opens up endless color possibilities and lets you customize your palette for each project.
stephanie gould | custom wedding stationery + calligraphy
Learning calligraphy takes patience, but it should also feel joyful. Start simple, practice often, and allow yourself to make messy pages. That is how every calligrapher begins, including me!
If you are dreaming of custom calligraphy for your wedding suite or special stationery, I would love to help bring that vision to life. Reach out to start creating something personal, intentional, and completely you!